TL;DR
Motivation: Sharing with/Giving back to Community, Time Efficiency
Hardware Setup: Mac, Headset, Webcam, Green Screen, Mic, Light
Motivation
**Price: **~$2,700
👍 Pros:
– M1 Pro builds 40% faster than M1, only 2% slower than M1 Max (source)
– Double the battery life of Intel MacBooks (also ~25 % longer than M1 Max)
– 1TB has plenty of space for multiple Xcodes, iOS simulators, 1080p streams
👎 Cons:
– More than double the price of an M1 Mac Mini with 16GB+1TB → the 40% reduced build time combined with the great monitor & mobility is worth it
– No headroom with only 16GB of RAM (the 32GB option costs extra $400!)
Recommended? **💁♂️ **Oh yes. M1 Ultra builds yet 37% faster though, consider!
⎇ Alternatives:
– M1 Mac mini with 16GB RAM + 1TB ($1,300)$1,650)
– M1 MacBook Air with 16 GB RAM + 1 TB (
– M1 Ultra Mac Studio with 64 GB RAM + 1 TB (~$4,000)
Headset: AirPods Max
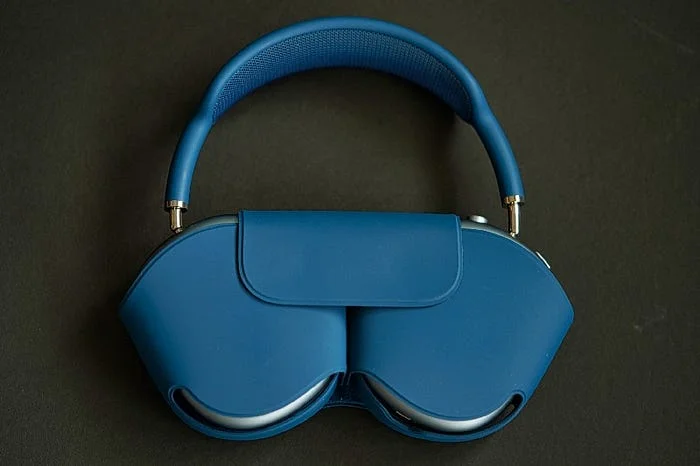
Price: 300€ ($335) — Note: I bought them second-hand.
Pros: 👍
– Easy to connect to Apple devices
– Very long battery life (I hardly have to charge)
– Comfortable even after hours of stream
Cons: 👎
– Expensive when bought new ($550)$35)
– Cable-mode requires extra Lightning-to-3.55mm cable (
**Recommended? 💁♂️ **If you own more Apple devices, then: Yes. Else: No.
⎇ Alternatives:
– Logitech Pro X ($90), good quality detachable mic$70), also very popular with gamers
– HyperX Cloud II (
– Any headphones you already own (if you get an external mic anyways)
Webcam: Logitech C920S Pro
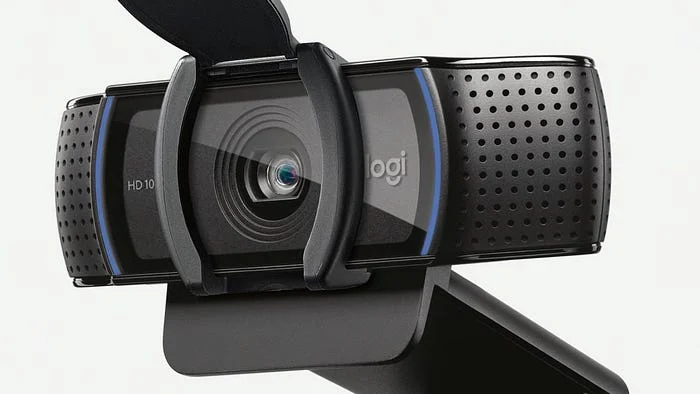
**Price: **~$70
Pros: 👍
– Reliable (I see cams in streams turning off randomly, never happened to me)
– Good 1080p quality & natural colors
– Privacy shutter (after all Edward Snowden told us the NSA is watching 👀)
– Auto-focus & auto-lighting that can be configured via Logitech software
Cons: 👎
– Built-in mic that can’t be turned off physically (NSA, remember?)
**Recommended? 💁♂️ **Yes!
Green Screen: Elgato Collapsible Chroma Key Panel
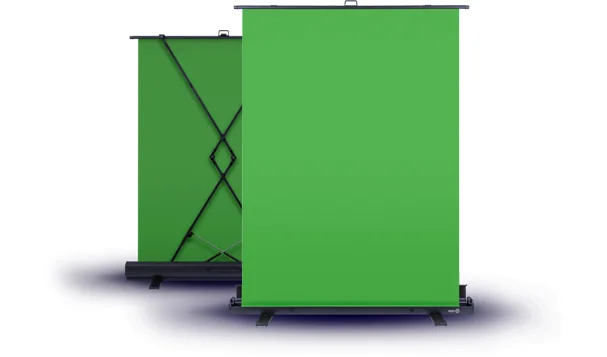
Price: ~$120
Pros: 👍
– Easy & fast to set up & put away
– Stable stand
– Good height
Cons: 👎
– Could be even a bit wider (I have to cut the sides of my webcam image)
**Recommended? 💁♂️ **Yes, really convenient if you need a green screen.
⎇ Alternatives:
– Setup a nice looking background for your workspace if you have the space
✨ Want to see your ad here? Contact me at [email protected] to get in touch.
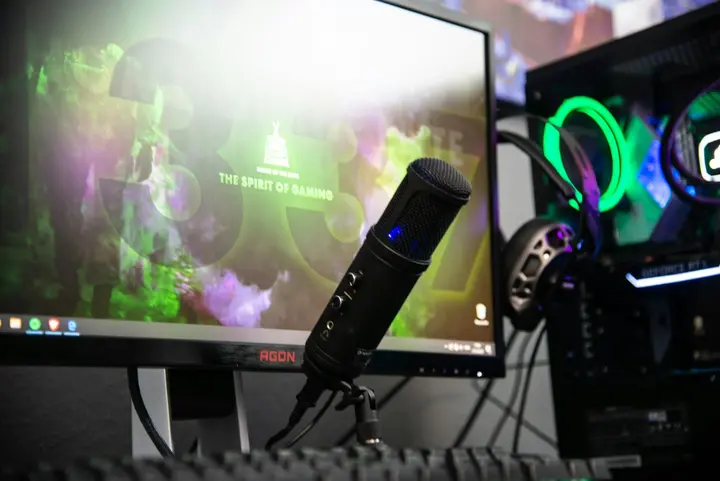
Mic: Blue Yeti
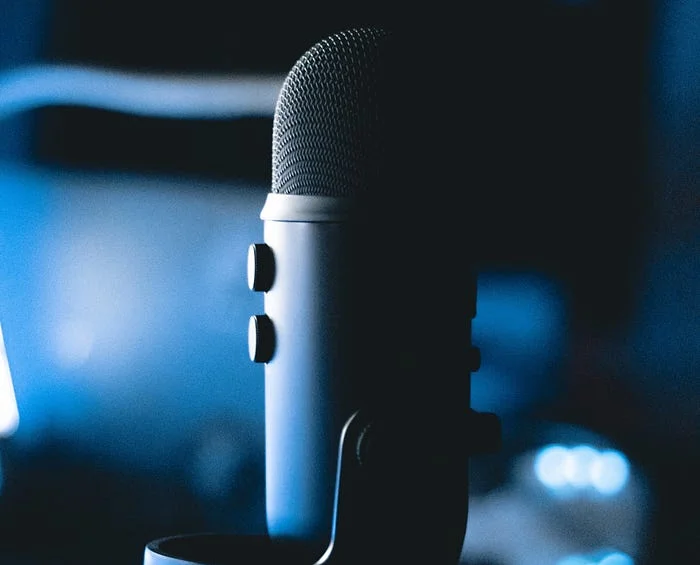
Price: ~$100
Pros: 👍
– Flexible modes that also allow for interviews & more
– Great sound out of the box without any filters applied
– Logitech software ships with multiple filter presets
Cons: 👎
– Default stand not well enough shielded against vibrations (keyboard)
– Clicking mute button creates too loud noise to use during stream
**Recommended? 💁♂️ **Yes, this is actually recommended by many for starters.
⎇ Alternatives:
– HyperX Quadcast, convenient tap-to-mute sensor ($110)$170)
– Rode NT-USB, ships with a pop shield (
– If you have a good quality headset mic, use that instead (e.g. Logitech Pro X)
Light: LAVKOW 10 Inches RGB Selfie Ring Light (US alternat.)
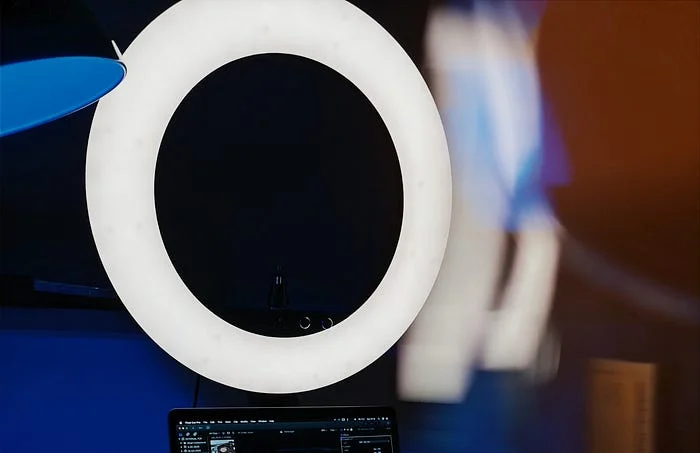
Price: ~$30
Pros: 👍
– Cheap
– Supports different colors
Cons: 👎
– Not very bright, but good enough for streaming when sitting close
**Recommended? 💁♂️ **To save money, get a selfie light, Yes. For quality: No.
⎇ Alternatives:
– Elgato Key Light (~$200)
See also Twitch’s hardware recommendations page for more alternatives.
Other Periphery I Use
Not exactly streaming related, but if you’re interested in what else I have on my desk while streaming, here’s a quick commented list:
Apple Wireless Magic Keyboard 2 ($65):
I’d prefer Logitech ERGO K860 now.Logitech MX Vertical ($80):
A savior for my wrist, wouldn’t wanna go back.Inateck HB2021 5-in-1 Adapter ($35):
Only one cable to connect, like a dock.Boyata Laptop Stand ($30):
Nice build quality, very stable & grippy. 👍Lamicall Phone Stand S1 ($10):
Good enough, hole for cable. Does its job.MAXLVL Gaming Mauspad XL ($15):
Size of 90cm x 40cm is perfect for me.
That’s it for my motivation & my hardware setup. I hope this helps future streamers to get started. The next part covers the software side which I think is even more interesting: All tools I use and how I have them and my hardware set up to work together. Make sure to follow me to not miss it!
💁🏻♂️ Enjoyed this article? Check out my app RemafoX! A native Mac app that integrates with Xcode to help translate your app. Get it now to save time during development & make localization easy.